Luckily, Fig & Plum, aka Jessica, saved it as a Word document, so I have it forever and ever. However, when trying to share it with you I couldn't get the pictures to show up.
So I searched the web again, and found mention of it again on DaciaRay.com. She documented her own try at the technique, so the pictures below are from her site. I hope she doesn't mind.
Thanks Dacia!!!
This is very popular information. Enjoy!
Dacia's notes: It i’s best to do one leg at a time, so as not to have too much undoing to do in case something goes awry. Also, it i’s good to know the length that you want each leg to be. Sometimes, one leg will be a bit shorter or longer than the other before you hem.
Step 1: Decide how much length you would like to take off. Divide that number in half. (Hems should fall just below the bottom of your ankle. Also, if you generally wear high heels, or a certain height of heel, you might want your hem a bit longer - it should fall an inch to a half inch above the floor at your heel.)
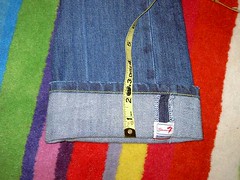
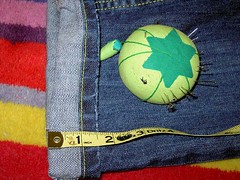
Step 2: Cuff the jeans. I wanted to take two inches off my hem, so I measured one inch out from the original hem line and pinned. (Do not include the distance from the hem to the end of the jean in your calculations.)
Step 3: Pin around the rest of the cuff, taking care to measure each time you pin.
Mind the seams while you a’re pinning. Make sure that the stitching lines up at each seam.
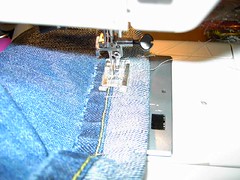
Step 4: It i’s time to stitch. You want to place your needle and continue sewing right next to the original hem. Stitch on the right side of the hem, or the side farthest from the bottom of the jean. Sew all the way around the cuff and make sure you do no’t sew through two layers at once!
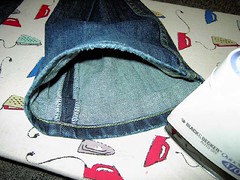
You can either cut the excess off, leaving about a half inch for fraying, or iron the extra material in.
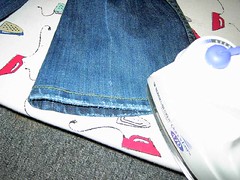
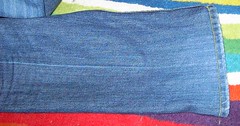
Turn the leg right side out and press the new seam flat, revealing the old hem.
Voila! No more slouchy, unflattering leg.
