Showing posts with label makeunder. Show all posts

Monday, July 20, 2026

Wedding Card Box 2026 Variation

Ten years ago, I made a satin-covered card box for my niece's wedding, and this year I was asked to make another for her twin!

The inspiration:

The overall simplicity and card slot trim

The card slot trim and ribbon trim

The side opening

The colors: white and various shades of lilac.

I loved developing my skills on the last one, and with this one I can address the few things that I wanted to change after the event. From the notes on my final project post, the new plan is:

  1. one large box instead of three stacked
  2. a larger card entry slot
  3. a more secure top so no-one can get into it until end of event

This time, I had to do without the lovely Joann Fabrics (RIP) and the amazing stretch satin they had then. Luckily, Wal-Mart's little fabric department came to the rescue. They have 2-yard bundles of fabric available, which included a pretty decent satin. Luckily, my niece chose a lilac shade for her wedding color and they had a great color match in the satin and ribbon. To complete the decoration, I have leftover rhinestone gems from her sister's box design to decorate the card slot.


In my search for a strong base box, I had a hard time finding one that was large enough, but not flimsy. After a month of research, I saw a portable storage box on IKEA's website, the Fjaderharv, that was perfect. Made of two interlocking sheets that are screwed together, plus a lid, it fulfilled the brief; sturdy, portable, and could provide a reversible way to secure the lid to the box. I will do this by running decorative ribbons through the carry hand holds similar to the second inspiration pic above. 

Materials:

  • Fjaderharv 12" x 12" x 12" storage box with lid, $7.99, IKEA
  • One purple wisteria bush by Ashland, $19.99, Michaels
  • AMAZLINEN sequin table runner, 14" x 108" in silver $11.99
  • 1 lilac satin table runner (borrowed)
  • 2 yards of Shason Textile Inc. costume satin in White, $7.13, Wal-Mart
  • 2 yards Casa Collection stretch satin in Bright White,  by Michael's
  • Gwen Studios 1.5" purple satin ribbon, 7 yards, $1.97, Wal-Mart
  • Offray 1/4" purple satin (100% polyester) ribbon
  • Two Bead Landing Sticky Gems Value Packs in clear crystal rhinestone $4.99 (2)
  • Elmer's Multi-Purpose Spray Adhesive $6.9
  • Elmer's Clear Glue
  • 3 Elmer's Washable School Glue Sticks $.95
  • Olfa 45mm rotary cutter
  • 1 emery board (or sandpaper, of course

Construct box. The assembled box has two gaps where the sides overlap, so I applied glue stick to eliminate a slight gap which would have showed when the fabric was applied. I had tried the spray adhesive before remembering this was the same ten year-old can from the first box!

Enlarge card slot opening. Next I enlarged one of the handle openings so that it works as a envelope slot. This was easily done with my rotary cutter. Now I can cover the box with fabric. Very conveniently, the lid will eliminate me having to embellish the top edge of the opening, which works with how much trim I have left.

Apply fabric. Calculate the amount of fabric needed. This box was much larger than the ones I did before. Those were easily made from large sections of 44"/45" fabric.

The costume satin was much thinner so I thought I'd need to do two layers of satin or use muslin for the first layer. Update: I couldn't do it. I remembered the name of the fabric I used before and luckily Michael's* still carried it online!


I started with covering the lid. No measurements needed, I draped a corner over the lid with an extra overhang of 3/4"-1" on all four sides that will be glued to the underside. I applied glue stick liberally to the top of the lid, flipped it and centered it over the back side of the fabric and thoroughly pressed it down. I let that part dry a bit before applying glue to the sides and folding in the corners.


Now for the big deal, attaching the white satin to the entire surface,

I laid the box on its side on my fabric and cut, leaving 3 to 4" for the top and bottom overhang, making sure to use the selvage. I took the box outside and sprayed adhesive on all four sides making sure to only hold it through one of the handles from the inside. I didn't want the adhesive to get on my hands too much.

I then carefully placed the box, side down trying to center it perfectly. Manipulating from the inside I pressed the entire surface into the fabric, especially at the corners, trying to make a crisp edge. I continued rolling the box over and pressing until I reached the first side again. I used the rotary cutter and ruler to cut a straight edge. I folded this under 1/4" and finger pressed it flat, using a glue stick to apply, making a pretty flat seam at the corner.


I turned the edges down inside the box, trimming the width and into the corners to make it neat. For the bottom, I completely removed the bulk at the corners so the box would stand level. These edges were attached solely with glue stick, no longer trusting the traveling aerosol of the adhesive around the satin fabric. I used up two glue sticks in the process.

Add rhinestone embellishment.

This step was easy. I added two rows around three sides of the card opening. They're self-adhesive, but being ten years old, some of the adhesive failed and some clear glue came to the rescue.


Add ribbon trim.

I added a row of the ribbon around the bottom. I had covered the lid in satin, but I didn't like how bulky the folds at the corner looked. The ribbon was exactly the same width as the lid edge, so I applied it along the sides.  This also added balance and interest. I then added a line of darker ribbon at the bottom for contrast.


Add more bling.

For a finishing touch, I used the rest of the rhinestone trim above the darker ribbon. Yes!

Construct ribbon bow.

Now, for the main attraction...what to put on top?

I know I she wants a ribbon bow, and with such a large box, it has to be substantial. That's where the wired ribbon comes in. I checked out a few video tutorials on Pinterest and chose a multiple segment bow. I also decided not to permanently attach it. I would tie it on with a long length of ribbon at the event, therefore securing the lid to the box for the length of the event.

The wired ribbon let me down! I couldn't get any structure for they bow. So I abandoned it. All that research and procrastination on even attempting it...


Conclusion

At the venue during set up I decided to just use the faux bunch of wisteria in the bridal color as the focal point. Arranged on a white satin base with a lilac satin sash and a silver sequin table runner side by side. I think it looked great. In addition, this was the same silver sequin table runner that I used for her twin sister's card box. 

It was beautiful and functional. Success accomplished!

*Who bought out Joann Fabrics and has most of their stock and manufacturers...online.

Monday, March 31, 2025

Adult Life, Mess, and Soft Furnishings

A year ago I bought a velvet sofa and a long-held dream was finally achieved.

However, I was terrified to sit on it-- so true. This was justified as I'd already spilled on the homemade quilt I was using to protect it. Luckily, that was easily laundered, whereas it would not have been easy to clean the velvet upholstery. 

A chance pin on Pinterest revealed a solution: a sofa pad in a homey cottage style. This is what I needed -- pretty protection.

Etsy

W Concept

I tried to find a similar fabric to the inspiration but nothing was close. I had it in my mind that I wanted a small black-and-white check or a black-striped cotton ticking.

I also loved the idea of gingham but needed a fabric that could stand up to the extreme lounging happening on this piece of furniture. When those fabrics didn't materialize at Joann, I turned to finding a complementary heavier canvas fabric that would work in the space. Using my handy West Elm Tarragon velvet swatch I located a green canvas that almost matched and complemented the upholstery. I have a lot of luck with this particular shade of green.

Richloom Fiera Apple cotton canvas

How it came together:


Using the dimensions of my 76" Harris sofa bench cushion I knew I needed a cushion at least 66" x 22".  Pre-made ones were normally at least 72" which is more than the length of the cushion I need. Luckily, if using a 44/45" wide fabric that meant I could buy for the length (nearly 2 yards) and simply fold it in half lengthwise and stitch three sides. Easy-peasy!


Also lucky for me, when I moved I purchased 1/8" thick furniture pads from U-Haul and had six of them to store or give away. What if I cut one up to use as batting? 

When playing around with it I realized when folded over and over again into four layers one pad fit the needed dimensions almost perfectly. I only needed to cut an inch off the length to account for the seam allowances on the cushion cover.


To make the padding stable when inside the cover, I basted through the layers on at least two sides to eliminate it migrating once enclosed. 

On the canvas I stitched from the short side around to the other end and sewed an inch into that side. I made sure to reinforce all the corners and the ending point. I pressed my seams open, clipped the corners, and while holding a corner of the moving pad between my fingers with the open corner of the cover I turned the cushion inside out while inserting the cushion inside. Using quilting safety pins I secured the pad at one end and manipulated the rest to fill out the cushion evenly. Once turned, I pinned the other end to keep the pad in place for the next part.


The last step was stitching the open end closed. I had originally thought I would tuft the cushion like the inspirations above but decided against it. This will allow removal for laundering. Knowing me, I will need to do that for sure. It will also work as a protective "mattress topper" for when guests sleep over. Without the back cushions on the sofa makes a comfortable bed.

Thanks to this project I feel secure in knowing that my sofa will survive living with me and look great while doing it!


Update: Months later, searching for examples of sofa toppers, I discovered that West Elm had the exact product (they call it a sofa overlay) I was looking to make! Funny. Though of course their version only fit their larger sofas at 84" x23" and cost $130. But its the same idea and it's for one of their sofas.

West Elm Reversible Sofa Overlay

Thursday, March 11, 2021

The 2019 Bathroom Makeover Update

After writing up and documenting the kitchen project, I decided to do the same for the first house project I did, the guest bathroom. 

My initial goal was to paint over the loud tangerine paint that practically screamed at you from the walls. I found a warm white paint that coordinated with the unusual taupe wall tile. I also primed and painted the outdated builder's grade oak vanity cabinet and mirror. After first searching for a darker taupe or driftwood color, I instead chose a gorgeous, rich green to make it the room's focal point. The last step was painting some of the picture frames to hide that they were not in the best condition.

The wall paint had matched the orange border in this artwork.


Monday, January 04, 2021

Finally! The 2019 Kitchen Makeover Update

Way back, at the end of 2019, I updated my dad's kitchen in the house I grew up in. I realized I never wrote about it here, even though the research and planning took up most of my time and energy. I guess it took me all of last year to process!


Our kitchen has always been a project because it was subject to my father's whims. He would "makeover" the cabinets, backsplash, countertop, and appliances whenever he spied a bargain at a retail or thrift store. Oh, the memories; the silver tin backsplash, mismatched cabinets in different wood grains, awkward cabinet placement that limited accessibility, replacing two useful dish cabinets with a wine rack, and lots of kitschy knick-knacks, many of them depictions of roosters!

The sole survivor of kitsch!

While my dad agreed to my plan to start over and have a complete redesign, there were tense negotiations on almost everything. Some of them:
  • I would work with a Home Depot consultant* to design the kitchen, get measurements, and order the cabinets.
  • His handyman would install the cabinets and not Home Depot.
  • I could order unfinished cabinets that will be painted to lighten up the wood-paneled kitchen. 
  • I could choose the color because it needed to be warmer than the white prepainted ones available.
  • I could choose ALL of the design components, cabinet layout, door style, backsplash, and flooring.
  • Everything (but the cabinets) must be available in the store, nothing could need to be shipped.*
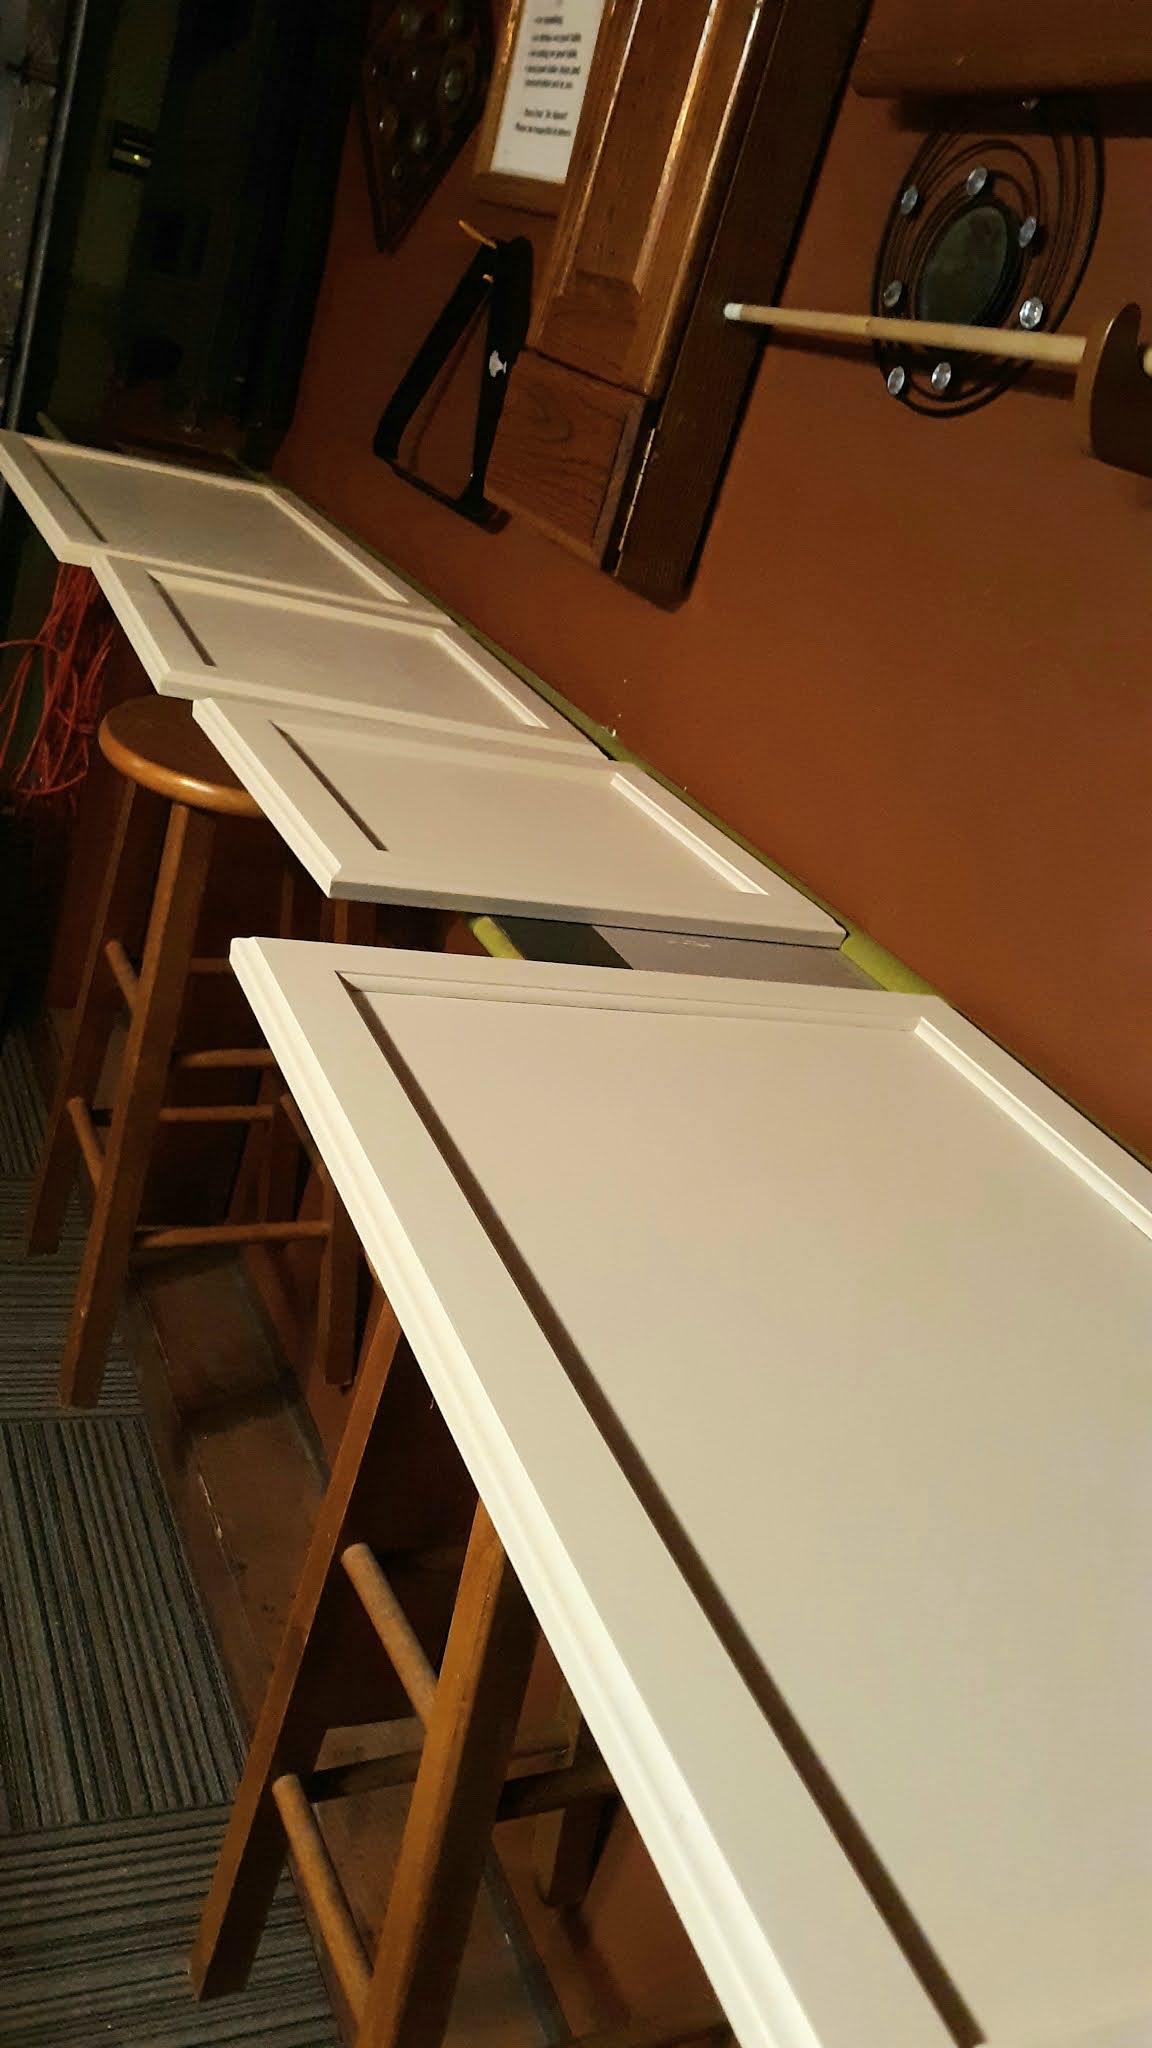
  • I could personally sanded, primed, painted, and polyurethaned all of the cabinet components.
  • I could install the tile backsplash by myself.

The picture above shows how it looks now, and below is a rundown of almost everything we purchased to change it and make the kitchen look cohesive and much more functional. If you want, take a deep breath, and scroll to the bottom to see how it was.


*I actually wanted to order this flooring in gray, but that was nixed. It's my one regret, and I often think of it, especially after something spills on the lighter floor. 


My inspiration for the mix of cabinet hardware:

HGTV Magazine


Not Pictured:
  • Glacier Bay 33" all-in-one drop-in double bowl stainless steel sink with pull-down faucet, $199.39 (N/A)

Renovation total without supplies was $2,090.30.


The BIG CHANGE:


BEFORE -2017?**

AFTER - 2019

**Yes, that is more countertop creeping up that back wall. Ugh. Also, EVERYTHING is brown. Welcome to my childhood.
* Thank you, Margaret "Margi" Cooper!