Showing posts with label loveseat. Show all posts

Monday, July 30, 2007

Streamlining The Slipcover

"In a mad fit, I wrenched the slipcover inside out and cut into it with a vengeance!"


The right side and the extra fabric supplied for fitting purposes.


Can you believe all of this was to be tucked in underneath the cushions?


After the extra has been trimmed off and pinned.


The left side surplus fabric.


All of the fabric now lying across the seat was also supposed to be tucked up under the cushions, but that was far too much fabric. I slit the slipcover two inches away from the elasticized portion that actually encases the cushions. Now the cushions will sit on top of the seat and the elasticized part will be brought up and over them. After this, the back portion should not ride up whenever the cushions move.

Well, at least that's the goal.


Because the surplus "tuck-in" fabric is gone, this is how the back should look like from now on. Before the fabric would come up from under the cushions and pool over onto the floor. What a mess!

Next step: Hand basting the slipcover.

Saturday, June 02, 2007

Slipcover Finale!


Here is a corner of the slipcover after it was basted and turned right side out.

I am happy.


\
This is how it works. Cushions are placed on top of the fabric that used to be tucked behind it.


The elasticized fabric portion is pulled up, over, and around the cushions.


Minimal tucking is required for it to look like this now.

Note: Even though it looks separate the slip cover is still one big piece, all sections are still attached to each other.


Bolster pillows are now in place, adding style and color.


The love seat made over and my inspiration photos.

Sunday, November 19, 2006

Cure Living Room Update:


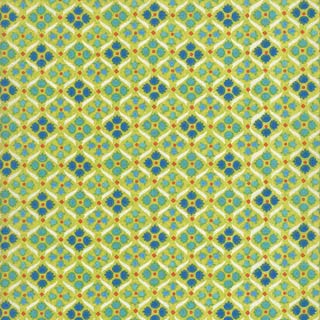
I just ordered this Denyse Schmidt print, Medallion in green, to make the two 9-inch bolster pillows for the back of my loveseat.

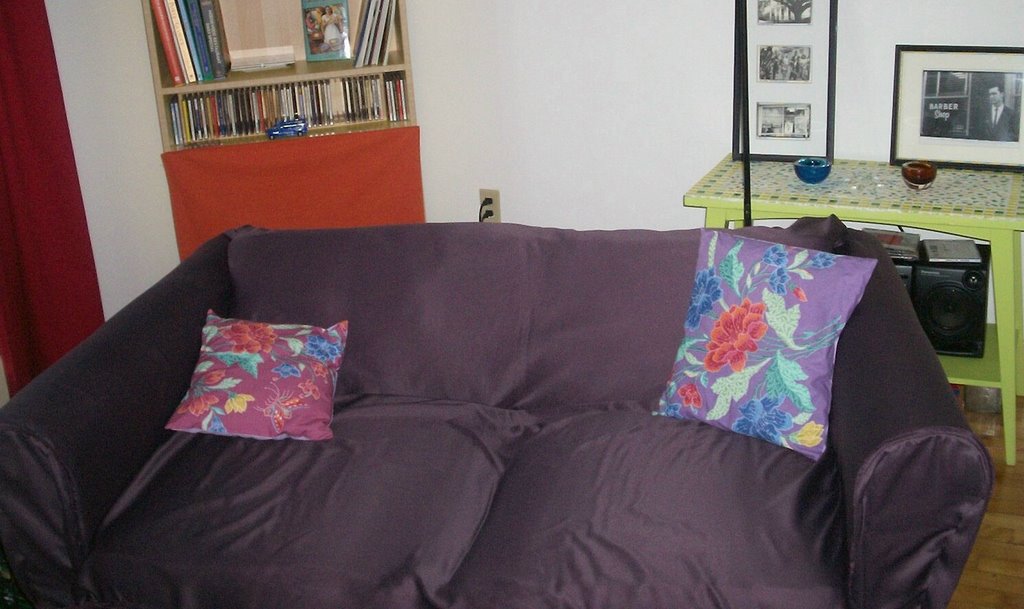
Here is the loveseat again.


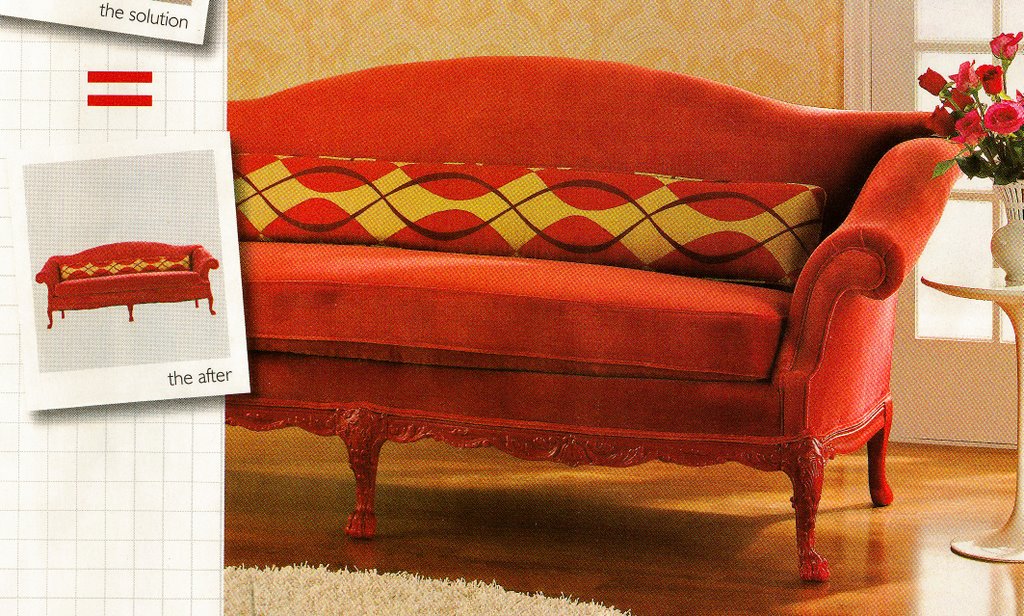
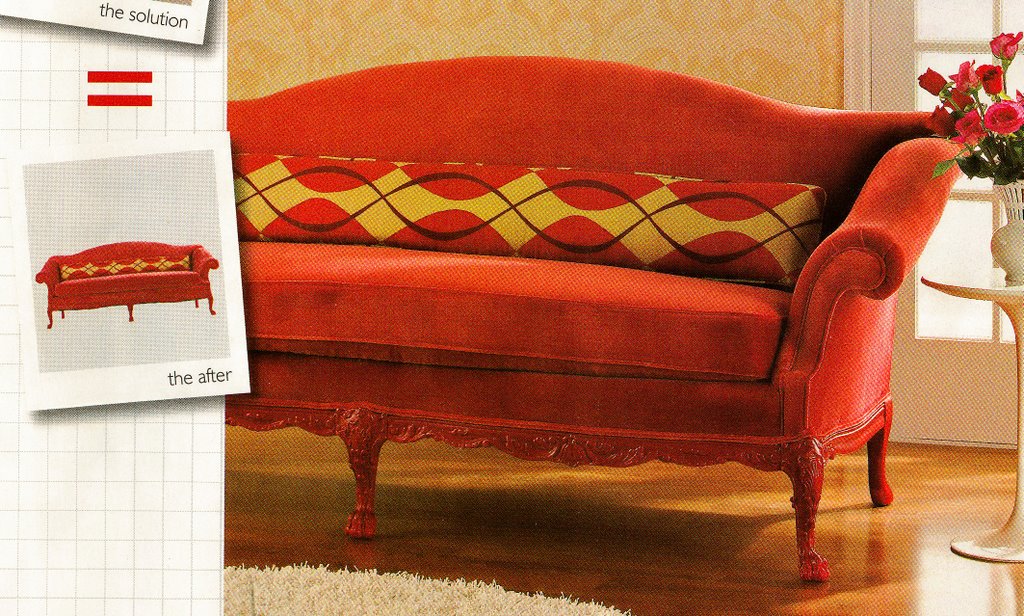
Remember, I'm going for this look:


I think it is going to look great. I'm so excited!

Sunday, September 17, 2006

Loveseat Update:

I found two place online where someone actually photo documented their sofa reupholstering project, here and here. I was amazed that in this current DIY culture that reupholstering instructions were not easier to find and believe me, I tried!

Before:


After:


I did finally sew the adjustments I pinned into my store bought slipcover way back when I started this blog. I altered the arms and it makes a HUGE difference that they now fit. I was able to keep the piping in place so it looks as if it was originally made to fit. I have a small loveseat and I bought a slipcover for a slightly larger one so it still has too much length from arm to arm and the elastic they put in back for adjustments just bunches up. I will have to take it off again, turn it inside out, and pin some more adjustments for those changes. However, with just this small change, it fits better and doesn't slide around as much when in use.


I also seriously looked into prices on foam for the one-piece bench cushion I want. I entered the dimensions (44" x 26" x 4") into the appropriate forms on FoamOrder.com and FoamSource.com. They each offer different grades of foam in three densities. Since this is going to be a temporary solution I selected the lowest grade and a medium density foam.

Foam Order's quote came to $68.85.
Foam Source's quote came to $63.24.

Very doable.

Tuesday, August 22, 2006

Finding Inspiration

When you are about to tackle a HUGE project it is best to be inspired for success.

1st Inspiration:


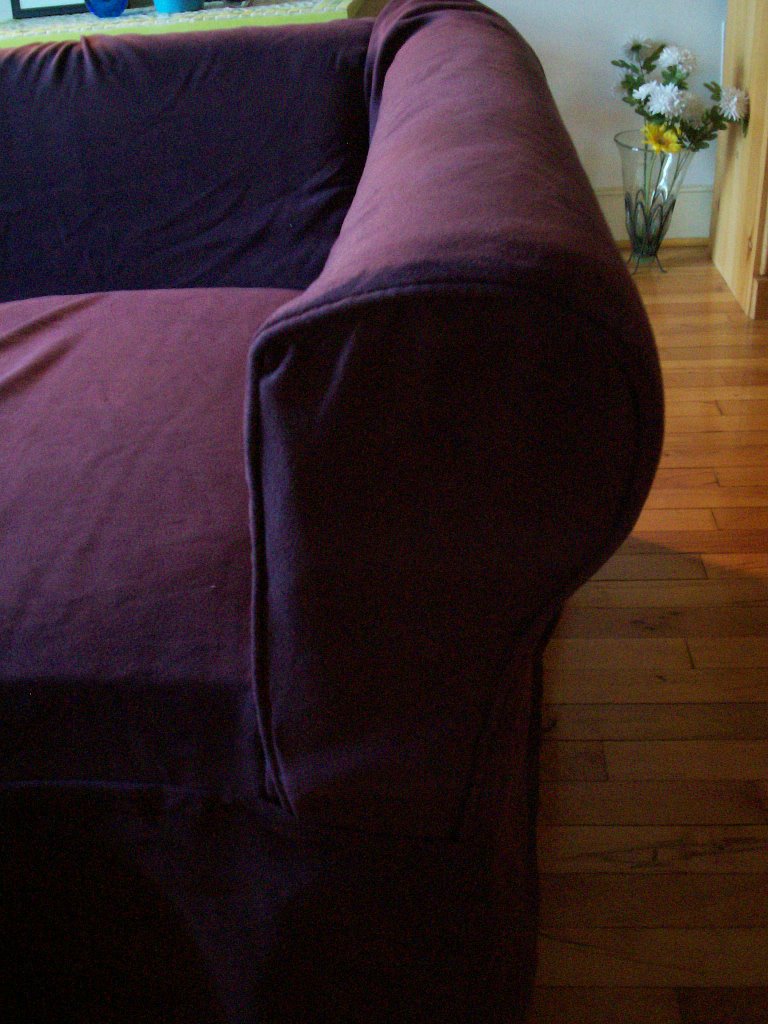
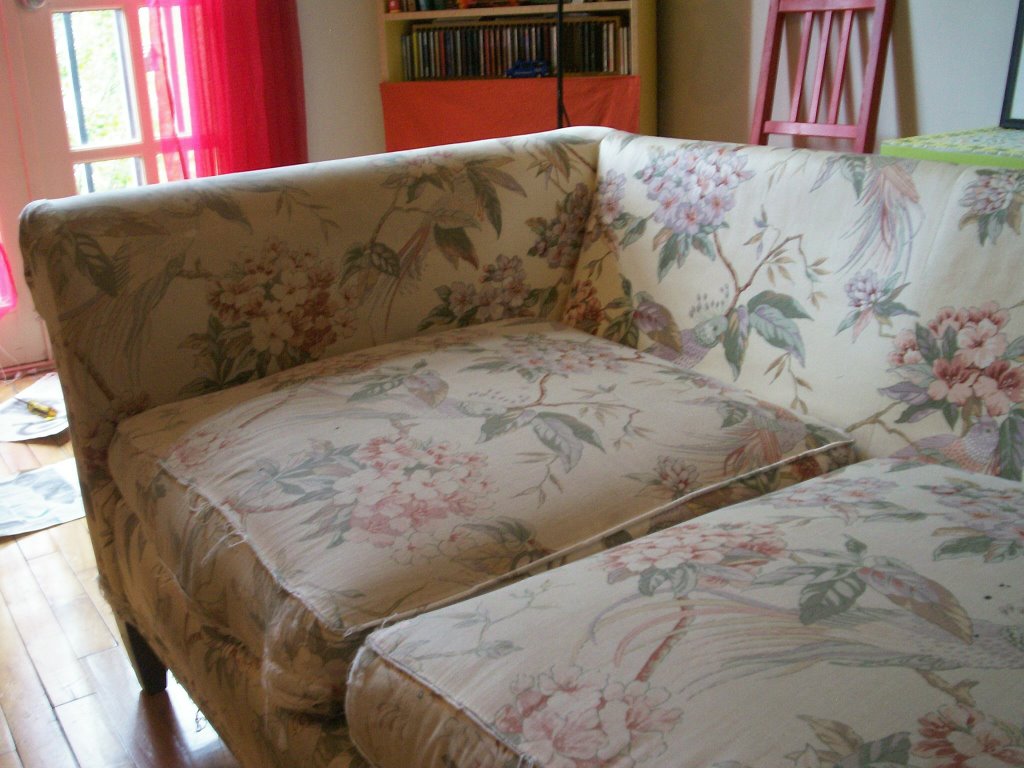
While searching for sofa reupholstering information, I found the above sofa image. See the similarity between that and mine...the rolled arms? I prefer rectangular block arms so I needed to find a rolled armed sofa that I liked for inspiration purposes. I like the way this sofa looks without all the cushions, which in my case are lumpy cushions.


2nd Inspiration:

A great redo of a traditional sofa showed up in the pages of the fall/winter 06 issue of Real+Life Decorating, unfortunately, they don't have pictures available on the Web so I had to scan it in. They not only covered a camelback sofa in an incredible chili-red velvet color but they also gloss painted the wood legs to match. Then they added a great patterned gold/red/brown bolster to lay across the back.


I am thinking that if I take my loveseat above and...
    • Strip and recover the base of the loveseat in a great solid color,
    • make one bench cushion for the seat; eliminating the sliding around that the two cushions do now, and
    • remove the lumpy back cushions and replace them with one fabulous funky bolster across the back...I just might be able to fall in love with my loveseat.
    What do you think?