Monday, January 04, 2021

Finally! The 2019 Kitchen Makeover Update

Way back, at the end of 2019, I updated my dad's kitchen in the house I grew up in. I realized I never wrote about it here, even though the research and planning took up most of my time and energy. I guess it took me all of last year to process!


Our kitchen has always been a project because it was subject to my father's whims. He would "makeover" the cabinets, backsplash, countertop, and appliances whenever he spied a bargain at a retail or thrift store. Oh, the memories; the silver tin backsplash, mismatched cabinets in different wood grains, awkward cabinet placement that limited accessibility, replacing two useful dish cabinets with a wine rack, and lots of kitschy knick-knacks, many of them depictions of roosters!

The sole survivor of kitsch!

While my dad agreed to my plan to start over and have a complete redesign, there were tense negotiations on almost everything. Some of them:
  • I would work with a Home Depot consultant* to design the kitchen, get measurements, and order the cabinets.
  • His handyman would install the cabinets and not Home Depot.
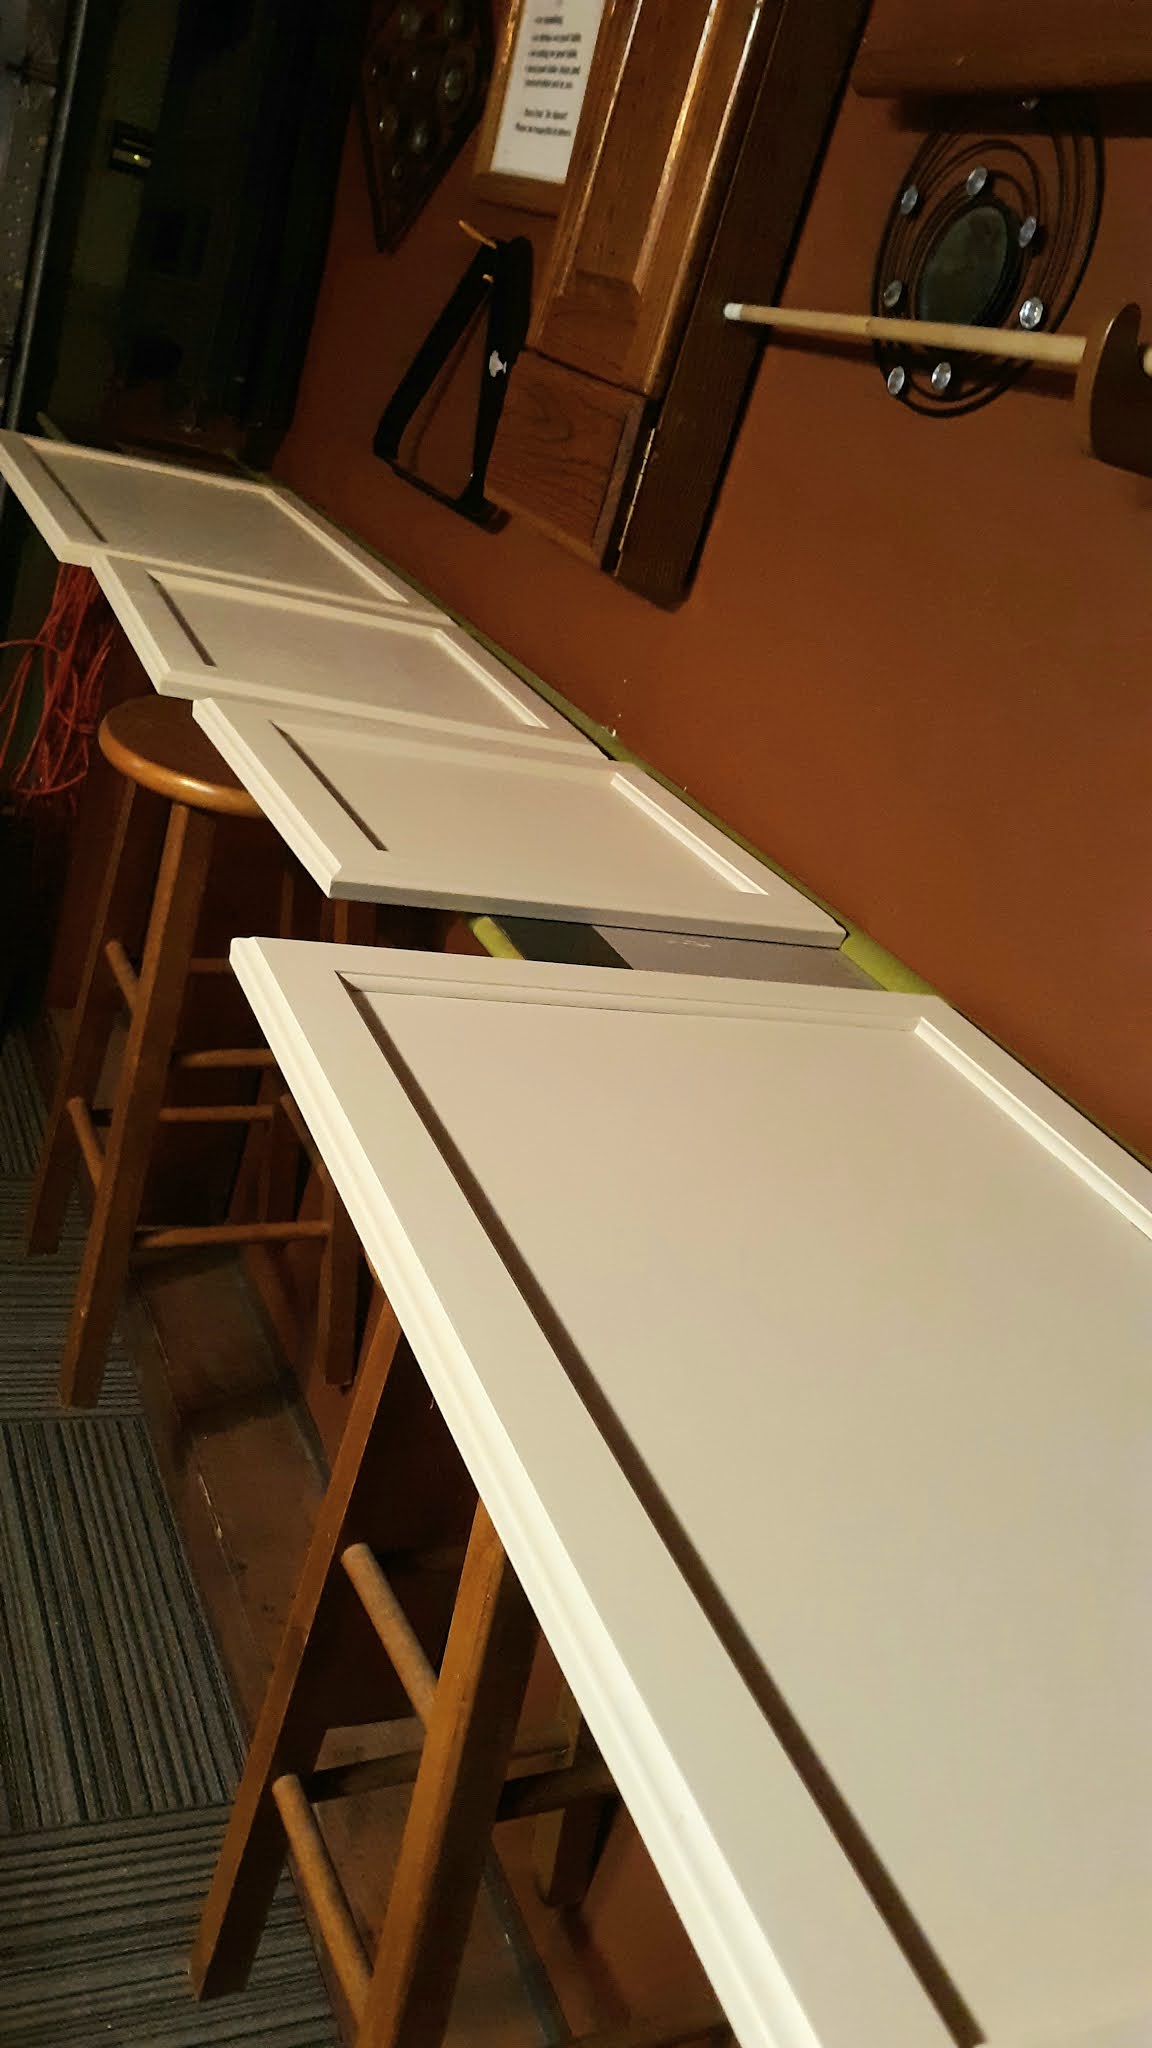
  • I could order unfinished cabinets that will be painted to lighten up the wood-paneled kitchen. 
  • I could choose the color because it needed to be warmer than the white prepainted ones available.
  • I could choose ALL of the design components, cabinet layout, door style, backsplash, and flooring.
  • Everything (but the cabinets) must be available in the store, nothing could need to be shipped.*
  • I could personally sanded, primed, painted, and polyurethaned all of the cabinet components.
  • I could install the tile backsplash by myself.

The picture above shows how it looks now, and below is a rundown of almost everything we purchased to change it and make the kitchen look cohesive and much more functional. If you want, take a deep breath, and scroll to the bottom to see how it was.


*I actually wanted to order this flooring in gray, but that was nixed. It's my one regret, and I often think of it, especially after something spills on the lighter floor. 


My inspiration for the mix of cabinet hardware:

HGTV Magazine


Not Pictured:
  • Glacier Bay 33" all-in-one drop-in double bowl stainless steel sink with pull-down faucet, $199.39 (N/A)

Renovation total without supplies was $2,090.30.


The BIG CHANGE:


BEFORE -2017?**

AFTER - 2019

**Yes, that is more countertop creeping up that back wall. Ugh. Also, EVERYTHING is brown. Welcome to my childhood.
* Thank you, Margaret "Margi" Cooper!

Tuesday, December 29, 2020

Simple Sofa Pillows - Singer Sewing for the Home

No, not more garment sewing but some necessary and long overdue home sewing.


In 2016, I created two custom slipcovers for a 62" wide octagonal ottoman we use for a coffee table, one in a wipeable vinyl and another in upholstery fabric. Before 2021 arrives, I have now finished the matching sofa pillows in that same subtle green, brown, teal, and orange Ikat print upholstery fabric. (Let's just say I have a little problem with procrastination, ok?)

Sewing for the Home (1988)

It wasn't difficult because I had the help of my first Singer Sewing Reference Library book, Sewing for the Home. My favorite method for covering pillows is their version that has an overlap closure. 


So easy, so elegant, so quick! If you don't have this book, there is a very similar tutorial from So Much Better With Age. I also found one by The Crafting Nook that uses one piece of fabric, simplifying the process.


I could have used a ruler and measured the 17" x 17" front and 17" x 22-1/2" back pieces right on the fabric. Instead, I created one paper pattern measuring 17" x 22-1/2," which at full size I could cut the pillow back. By folding it under at the 17" line, I could also cut the pillow front. Therefore, one pattern could be used for both parts.


During construction, I reinforced all the stress points by double stitching at each corner and the overlap area, knowing that these pillows would need to be hardworking. I then steamed every seam and pressed them with a clapper to create flat crisp edges.

This is a great way to change your decor quickly and cheaply; it takes less than two yards per typical couch accent pillow. An added bonus is that if you chose only machine-washable fabrics, spills are no longer a problem if you move quickly.

Sunday, December 27, 2020

Blouse Obsession Made Real - Friday Pattern Company Adrienne Blouse


Pattern: Friday Pattern Co. Adrienne blouse (2018)

Pattern Description: Slightly cropped knit top with statement sleeves gathered at shoulders and hems with elastic.

Pattern Sizing: XS-4X, I cut out an XXL, even though my measurements call for size XL. 


Did it look like the photo/drawing on the pattern envelope once you were done sewing with it? It looked exactly like it!

Were the instructions easy to follow? This is such a simple top. The only thing that might cause difficulty is if you are not familiar with sewing knits. Otherwise, this is a very quick sew once you figure out your preferred amount of wearing ease.


What did you particularly like or dislike about the pattern? I fell in love with the neckline, the gathered shoulders, and the drama of those full sleeves.


Fabric Used: 54" Dark Navy/White Rayon/Lycra rib knit from FabricMart, leftover plush back bra strap elastic from the stash, Dritz 1/2" braided elastic for sleeve cuffs, Gutermann 100% polyester thread in Silver #100.


Pattern alterations or any design changes you made: With this first one, I choose to sew it with no alterations, not even a full bust adjustment. I have another knit ready for my final version, so this is also a muslin.


I cut this in the XXL size (bust=44" to 46") even though the pattern measurements suggested I make the XL to fit bust measurements of 40" to 43". I chose to work on the side of caution and go larger because the pattern calls for 6-1/2" in negative ease! I wanted a fit that I would feel comfortable wearing and was scared of it looking too small and like a sausage casing, to be truthful.


Of course, it turned out too large, and I ended up opening the side seams and taking them in along with the armscye. I believe it ended up equivalent to the XL. I didn't reopen the elastic at the shoulders, so the neckline didn't get reduced and is too loose. I now believe a size XL with a full bust adjustment might have been fine.


Would you sew it again? Would you recommend it to others? Yes, I will definitely make this again after I figure out the right size to cut.

Conclusion: I have been seeking out versions of this top for months, knowing I wanted to make not one but several of these. I love the finished ones I've seen, especially all the print versions and the dress hacks out there.


After a while, I realized why I was immediately drawn to this pattern. It strongly resembles the gently squared necklines of two of my favorite dresses, both worn for royal weddings: 1) Mette-Marit, Crown Princess of Norway's dress designed by Ove Harder Finseth, and 2) Lady Sarah Chatto's dress by Jasper Conran. The Adrienne blouse only ups that wow factor by adding a much fuller and gathered sleeve. I already have a lush ivory knit in mind for a winter-white knit version.

Ove Harder Finseth design

Design by Jasper Conran

Thursday, December 17, 2020

Attempted Make-under - Assembly Line Cuff Top


Well, I did attempt to recreate The Assembly Line Cuff Top on my own using images from the internet and a self-drafted pattern (see below.) I created my pattern by using their measured diagram of the top and my actual measurements. I used some of my stashed white eyelet fabric since I have so much of it. 

However, not being sure that I got the amount of ease right and not knowing exactly how they applied the elastic to the sleeves kept me from completing it. I really didn't want to be disappointed in another sad quarantine make. 
 

So, that led me to treat myself in the end. I had received $30 as a "tip" for watching a friend's dog for the weekend (It was my pleasure, really!) Even though I couldn't believe I was paying that much for such a simple pattern, I went ahead and clicked Purchase. I am so glad I did!

As you can see, I did pretty well. My attempt at the pattern ended up very close to the real thing except that the size corresponded to size XS-S in the Cuff Top while TAL had my measurements match up with their Large size.


Pattern: The Assembly Line Cuff Top (2018)


Pattern Description: Loose-fit top with boatneck, center seam detail, and cut-on sleeves with gathered cuffs.

Pattern Sizing: Available in two size ranges: XS-L and XL-4XL. I cut a Large that matched my bust measurement resulting in finished garment ease of 8."


Did it look like the photo/drawing on the pattern envelope once you were done sewing with it?
Exactly the same.

Were the instructions easy to follow? Extremely easy! As simple as can be.

What did you particularly like or dislike about the pattern? I loved the instruction booklet! Great detailed instructions in a clever and simple design.


Fabric Used: Premium quilt cotton yarn dye chambray (100% cotton) from Joann Fabrics, Dritz 2" Soft Waistband Elastic, Gutermann 100% polyester thread in Iris #900.


Pattern alterations or any design changes you made: This was the first time I've ever used a 1 cm seam allowance. As an American, it always sounded too small to me, but it's essentially 3/8." 


The instructions suggest finishing all seams with an overlocker or a zig-zag stitch.  The shoulder, center front, and center back seams were flat-felled, which added style and detail.


When it came to the sleeves, the elastic insertion instructions in the booklet were lacking. I found it much easier following instructions for an elastic waistband like this Craftsy tutorial. You have control over the gathers this way.

That same detail in my eyelet version.


Would you sew it again? Would you recommend it to others? Yes, I will definitely make even more of these. It's a simple pattern, but it has style. It is very versatile, looking completely different in all types of fabrics, from flat quilting cottons to drapey silks.


Conclusion: After wearing both versions I have decided that I want something slightly smaller than my official TAL version (with 8" of wearing ease) but larger than my faux version. I think I will make all others in size M for less wearing ease and a narrower neck opening.

Affixed with my label.