Monday, October 31, 2016

Last of the Summer Shorts - New Look 6216

Pattern: New Look 6216 (2013)


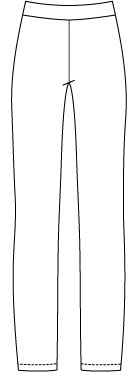
Pattern Description: Misses' pull-on pants with drawstring waist and easy knit top with scoop neck and short all-in-one sleeves or higher neckline with 3/4 dolman sleeves.

Pattern Sizing: Size A (8-18) I chose size 18 based on the finished garment measurements.  

Did it look like the photo/drawing on the pattern envelope once you were done sewing it? I changed them into shorts and eliminated the drawstring, but yes, I guess they do look like the picture.

Were the instructions easy to follow? These are extremely easy to make, there is one error in the pattern but it is very easy to correct.

What did you particularly like or dislike about the pattern? I wanted easy pants, so the elastic waist was a plus and the pockets are just so extremely clever and easy.


Fabric Used: Sew Classics denim heather solid suiting* $6.99 per yard from Jo-Ann Fabrics; thread; and Dritz 1-inch wide braided elastic.


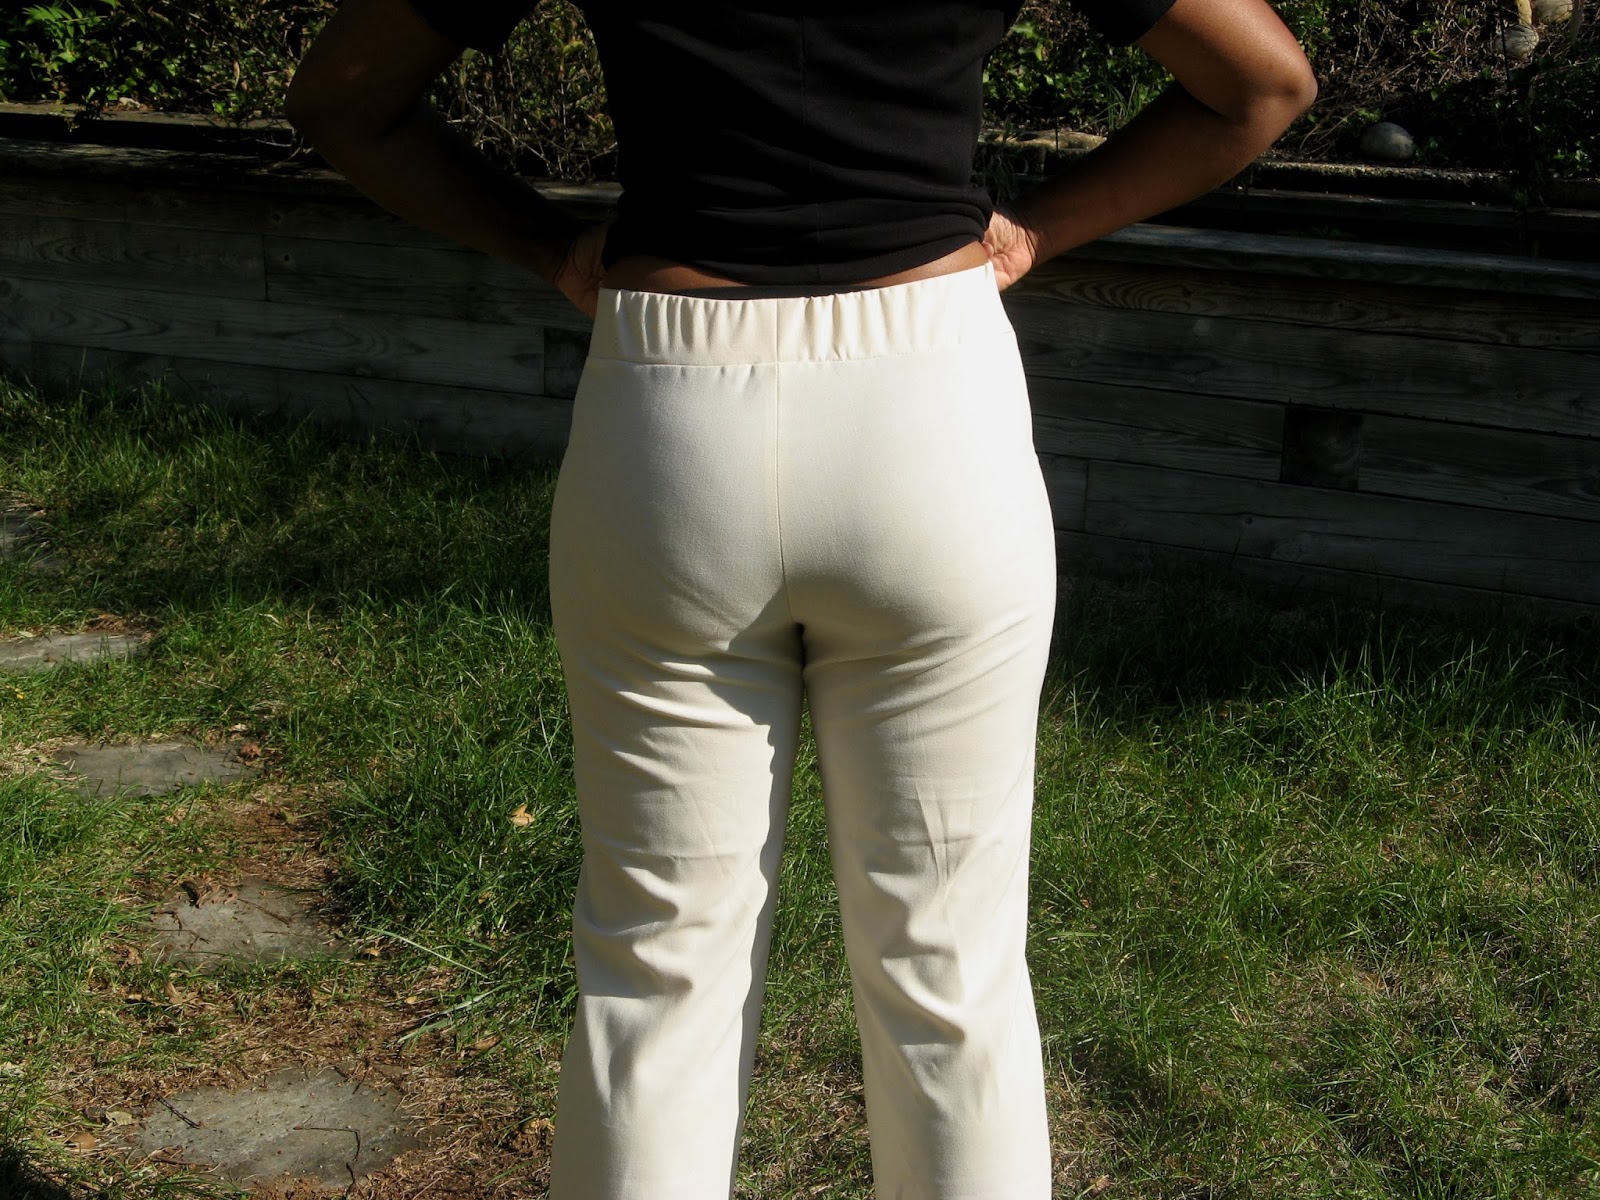
Pattern Alterations or any design changes you made: This is the second time using this pattern for pants. My earlier pair no longer fit comfortably, so I had to increase the seam allowances. I originally cut a 14, so this time I added 1" to the sides to allow for the two-size jump to an 18, therefore, supplying 4" of wearing ease.


Another change needed in the original pair was that the front waistband rose too high and the back was too low. In order to fit my particular body, I slashed and spread, added 1" to the center back crotch length and eliminated the same amount on the center front. The trousers were designed to sit just below the natural waistline but on me that was too tall.

I used an existing pair of shorts to determine how long to make these. I ended up cutting them right below the notches at the hip resulting in a 4" inseam measurement.

There is an error in the pattern piece for the waistband. The waist of the shorts are smaller than the sewn waistband piece. I suppose when I first made these I believed the error was mine and I fixed it then by creating two pleats in the front. But here it is again. My remedy was to only match the side seams and the middle point of the waistband to the corresponding points on the shorts. I also basted the waist of the shorts so I could gather it to match the width of the waistband. Since this area would eventually be gathered further by elastic, I knew it wouldn't matter or look strange.


I attached the elastic waistband and as some twisting was already apparent, I top-stitched the waistband, sewing right up to the edge of the enclosed elastic. After distributing the gathers around the shorts, with the majority in the back, I "stitched in the ditch" at the side and back seams to further keep the elastic in place.

To hem the shorts I gathered along the seam line to ease them in a bit and hand stitched the hem in place. A light steam on the hem helped "shrink" up the majority of the resulting puckers.


Conclusion: The pattern made very cute shorts. There was some kind of problem; however, where the shorts rode up in the rear as I walked. Obviously, this was not evident in the long legged version, so must have something to do with my alteration of the crotch length, perhaps I needed to add some back to the inner leg seam. However, for end of summer shorts, they were fine and they did make it through an entire day of walking through Busch Gardens!

*I can't say more great things about this fabric, I now have four garments made from it. Yes, it's polyester but I love the feel and how hearty it is, no wrinkles (!), dries quickly, and takes a good press. Luckily, Jo-Anns has been selling it consistently for the last six years.

Wednesday, October 26, 2016

Stretch Pant Trial Run - Style Arc Barb's Stretch Pant

Pattern: Style Arc Barb's Stretch Pant (2014)

Pattern Description: Pull-on pant with elasticized waistband made in a stretch woven.

Pattern Sizing: Size 12-14-16. I cut the size 14 (W: 33.5 in. H: 42.5 in.) and made some changes to the pattern.

Did it look like the photo/drawing on the pattern envelope once you were done sewing it? Yes, exactly. However, mine were a touch too small!

Were the instructions easy to follow? Extremely! This is a very simple pant which makes it ideal for trying to nail down what kind of fitting adjustments you may need to make to pants in general.


What did you particularly like or dislike about the pattern? Most importantly, the company offered it as a FREE PDF download here. This allowed me to try out the company's pants draft before making a monetary commitment. Two, this seemed like a very simple pattern, no zipper insertion, or lined waistband.


Fabric Used: Cream stretch suiting (95% polyester 5% Lycra) from Jo-Ann Fabrics on clearance, Dritz 2-inch wide knit elastic.

Cut and spread to add room for the stomach
Pattern Alterations or any design changes you made: Current sewing situations have taught me that it wouldn't hurt to do a full tummy adjustment and a protruding seat adjustment when making pants so I first made a tracing of the pattern for my muslin.

Page 57 of Sewing Pants That Fit.

I added an inch wedge to both the front and back just to be safe. As it turns out, perhaps a full inch at front was not necessary.


However, the adjustment at the back was perfect and I like how the ole bum looks. I believe the wrinkle problem there in back is because my inner thighs need more width so I will add a full thigh adjustment to the front for the next muslin.


A plus of the pattern draft is how they handled the waistband. Note the angle from the top of the waistband down. This shows an awareness that this is a wider than usual waistband and that the body is going to widen out from that top point but that you still want a slim as possible waist.

Note the angle of the waistband at the sides and how it meets the pants.

When I first saw this waistband sewn up and placed next to the pants in the image above I doubted that it would fit over my hips. However, being cut the way it was it expanded the right amount to fit the pants, even before any elastic was involved.


The elastic was placed inside the completed waistband and basted closed before it was attached to the pants. This allowed the elastic to fit snug in the casing and eliminate any excess room that would allow it to twist around inside the casing.

Not loving this view!
Here is the finished muslin from the side. Note the protruding abdomen, (and then feel free to forever abolish the image from your brain!) the tautness of the fabric below it, and that crooked side seam. This muslin is too small. All of these pictures were taken months after the pants were first completed. At that point, they were really too small. I have since lost some weight and dietary changes have somewhat adjusted my abdominal bloat, so there has been a great improvement to that original fit. Unfortunately, the picture is so washed out but you may be able to see where the side seam indicates where more width in the pattern is needed. Try hard you can also see the beginnings of those diagonal wrinkles towards the back indicating the need for the full thigh adjustment.


The view from the front is where you can see the high waist and how they fit at the front thigh with a few radiating markers of fitting issues. Also note that once on, despite the 10" difference between my hips and waist, the amount of visible gathers from the waistband are minimal and don't add too much bulk. So the waistband works, but the rest of the pants do not.


Last little note, since these were never meant to be finished, I cut almost 4 inches from the length in order to try them on. I am 5' 4" inches tall, so definitely compare your desired pant length against the pattern pieces before laying and cutting out your fabric. I would hate for you to lose that much fabric needlessly.

Would you sew it again? Would you recommend it to others? Since this is a muslin, the real question is will this pattern work well enough for a final version? I believe so, with a minimum of changes. The waistband is a keeper and the use of 2" elastic creates a comforting and supportive waistband; especially if you have some girth you wish to control in that area.

Unfortunately, my muslin did not fit, but then that's the purpose of a muslin. I don't know how much can be blamed on the fabric choice since the Lycra content of this particular fabric was a mystery and I did not know exactly how much* stretch the pattern required. According to the company's posted measurements (waist: 33.5, hip: 42.5) I did choose the right size and in fact, those numbers are 1" larger in the waist and .5" in the hip. However, my full abdomen and inner thighs may have affected the ease distribution.

Conclusion: I will make these pants again and not only to adjust and correct the pattern before attempting the other two Style Arc pants patterns I own. This was a more than decent muslin compared to other pants patterns I have tried. If I hadn't made them out of a see-through white fabric I could even see finishing them off and wearing them out on my "no bread and dairy" days.

*Instead of suggesting a Lycra/spandex content percentage, Style Arc instead directs you to purchase their own stretch gabardine that possesses a 30% vertical stretch (?).

Sunday, October 23, 2016

Sewing CAN Be Simple


Sewing can be as simple (or as complicated) as you make it.

Sometimes, I feel bad because I don't have an overlocker but after reading Overdressed by Elizabeth L. Cline, I'm perfectly fine with not trying to emulate the ways of current clothing manufacturing (ie. fast fashion) My knit fabric seams are still zig-zagged and then fortified with a second line of stitching 1/8" away and then trimmed close. Most of my woven seams are either pinked or the seam allowances are folded under and secured.


My hand stitched hems are a highly deserved piece of pride that I carry. These are blind and they are invisible while also sturdy and hard-wearing. I have not had any give up when I needed them.

Another way that I veer from the norm is that I have never installed an invisible zipper. I started out sewing more than twenty years ago with centered regular zippers and they have never (NEVER) in that time failed me. Just the thought of consciously installing an invisible zipper that from blog accounts seem to frequently break is perplexing enough to keep me from even trying them. Knowing that I have this deficiency in my sewing knowledge does bother me sometimes; however, it's largely fine by me because having a completely invisible zipper isn't a priority for me.

In fact, I've played with the color of my zippers at times. If it was not possible to have a perfect color match, I would choose one that complements or contrasts with the fabric on purpose. Ex. burnt orange and navy blue, lemon yellow and gray, or when using a floral print with a white background I would instead match one of the other colors.

Tuesday, October 04, 2016

Just Keep Sewing, Just Keep Sewing...Pants!

To complete my wardrobe I need to make some pants, but my fluctuating size and food gut issues abound. Therefore, I've been looking for patterns that will allow for these spontaneous changes in shape. I kept seeing the elastic waist Style Arc Barb pant mentioned. While doing my research and checking how the finished garments looked on other sewists, I found out that by signing up for the Style Arc newsletter here I could receive a FREE pdf copy of the Barb pattern. This pattern could be made in a ponte or a stretch woven like the stretch bengaline from Jo-Anns. I could try out the company's pattern drafting and fit first before actually paying for one of their regularly priced patterns. I selected the size 14 (W: 33.5 in. H: 42.5 in.) and they graciously sent over the pattern in that size along with sizes 12 and 16. I had been debating buying their Style Arc Ebony pant (which I went ahead and already bought with the Lola on sale!), whose design detail around the abdomen area would work to flatter my new silhouette.

Style Arc Barb, Ebony, and Lola


The suitable fabrics that I have in my stash for pants are already assigned to specific patterns: a gray ponte meant for Vogue 1411, a Sandra Betzina design with interesting seam lines; chocolate brown stretch poplin to make a muslin for the Built By Wendy pants in Sew U, and an army green stretch woven meant for the final Sew U pants. The only currently free fabric, a gorgeous gray marl woven, was originally meant for a pair of Vogue 1922, then a pair of New Look 6216; unfortunately, now both patterns would need extensive alteration to match the image in my head. However, it could be perfect for the Ebony, but I would like to start with a more practical pant/fabric combo first.


So, my choices for venturing into introductory pants production are Vogue 2002, an OOP Calvin Klein designer pattern from the 90s with a side zipper and a flared leg; Simplicity 1283, a flare leg Mimi G. design that Kyle of Vacuuming the Lawn recommends (minus some of the flare for mine), and the free Barb pant, a simple elastic-waist slim cut pant:

Vogue 2002, Simplicity 1283, and Style Arc Barb

The true goal is to get the front and back rise correct, along with the c-curve so that I can transfer those measurements and shapes to all my pants. So first, I need a winning test sample that doesn't frustrate me or make me dread making more pants, so I'm going to start with the Barb stretch pant.

Have you made any of these and do you have any comments or advice that might help?